Accounting
/Expenses
Expenses
Manual input
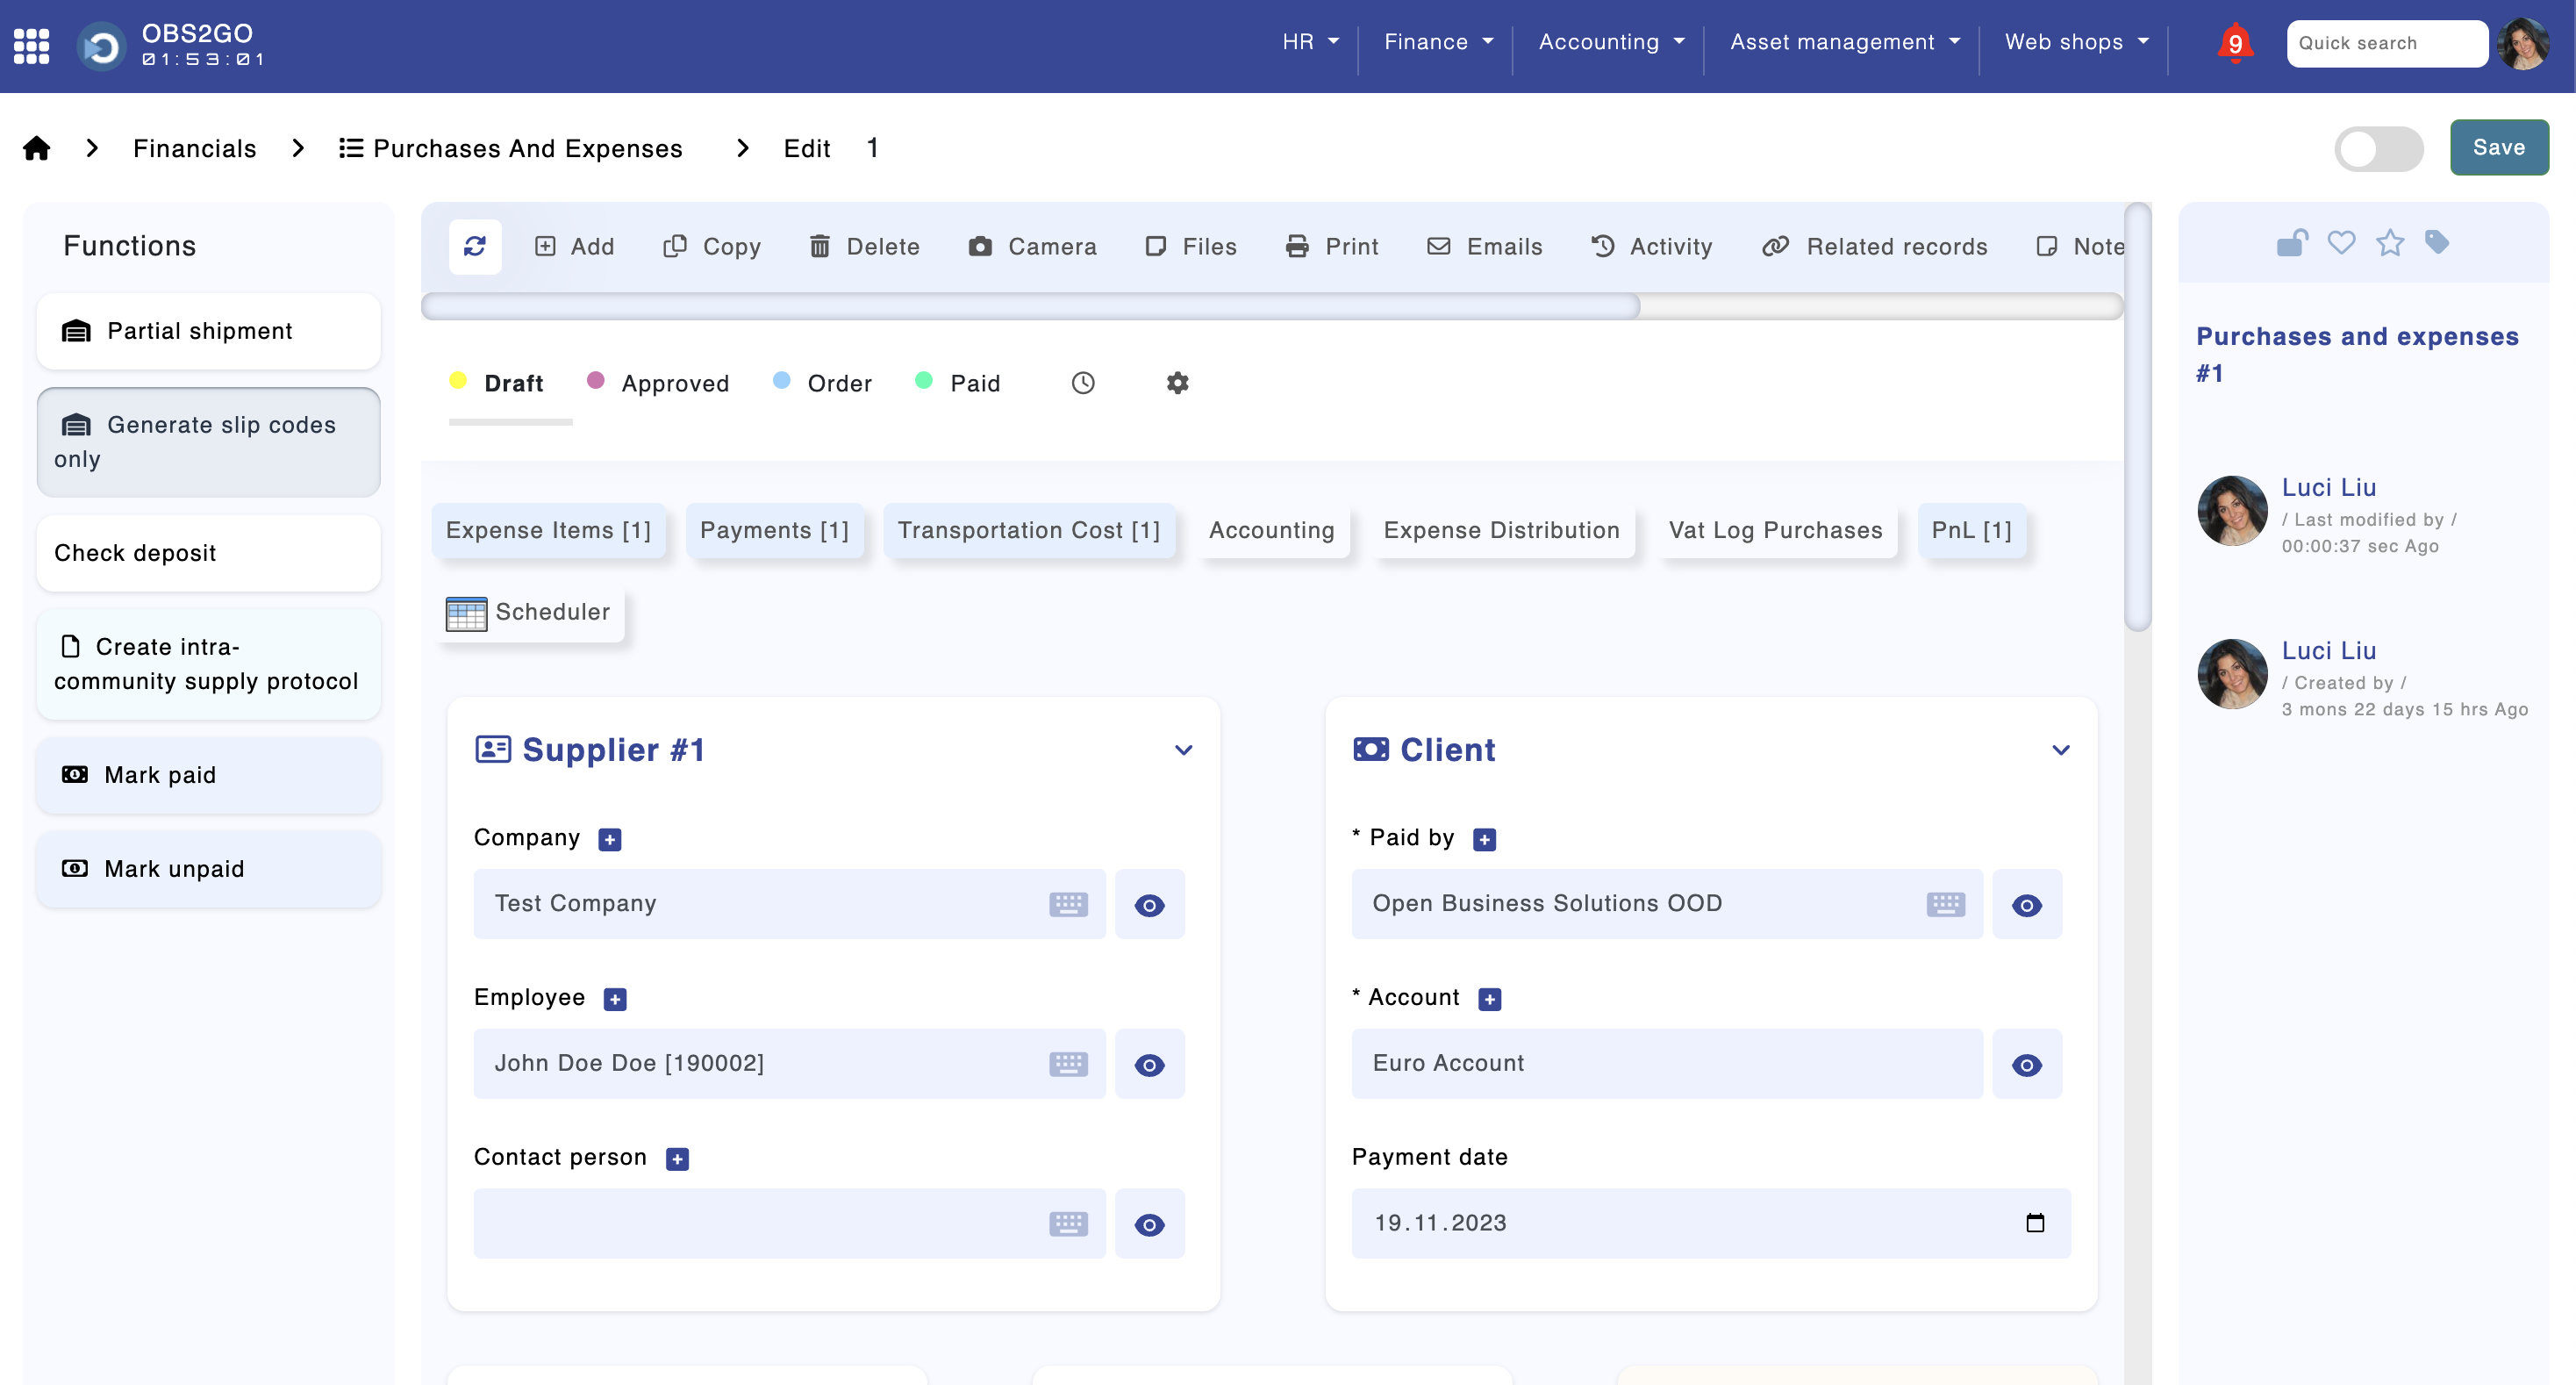
Navigate to Finance > "Purchases and expenses" > "Create a record" (Top-right corner). Fill in the form and click "Add". Add the expense items in the submodule "Expense items":
The expense items, i.e. product and/or services acquired, can be added in the "Expense items" module.
These two fields must be populated for the document to be posted:
- Cost center - The cost centers are related to the ledger accounts. The related general ledger accounts must follow this code convention: CODE-COST_CENTER-ANALYTICAL_LEVEL. Example:
- 602-60-870, where:
- 602 is the synthetic account code
- 60 is the cost center
- 870 is the analytical level
- Every cost center must have a code. Example:
- Services (Code 01)
- Product (Code 02)
- More information here: https://obs2go.com/en/guide/package/accounting/Configuration#Ledger%20accounts
- 602-60-870, where:
- Category - The item's income category. Every category can have a template for automatic accounting. More information here: https://obs2go.com/en/guide/package/accounting/Configuration#Ledger%20accounts

After entering the expense details, you can perform the following operations:
- Print the Document: Directly print the completed document.
- Post the Document: Click the green button in the "Accounting" section to post the document.
- Mark as Paid: By selecting the "Mark as Paid" button, you will be prompted to specify the payment date. This action automatically creates a record in the "Expense Payments" module and posts the payments.
- Generate a Warehouse Slip for Delivery: Clicking the "Partial Shipment" button generates a warehouse slip for shipping the selected products and/or materials from a warehouse.
- Create Intra-Community Supply Protocol: This feature is applicable only to countries registered in the European Union. It generates a protocol in accordance with European legislation.
* In order to post the document, you must first complete the configuration steps described here: https://obs2go.com/en/guide/package/accounting/Configuration
Data import
You can import expenses from another system by using one of the following two methods:
- Import from Excel files - module "Purchases and expenses" > left vertical button > "Import XLSX"
- API - as described in the user's guide section API
VAT
This section is applicable only for companies operating in the European Union. Please skip it if your company is registered outside of the EU.
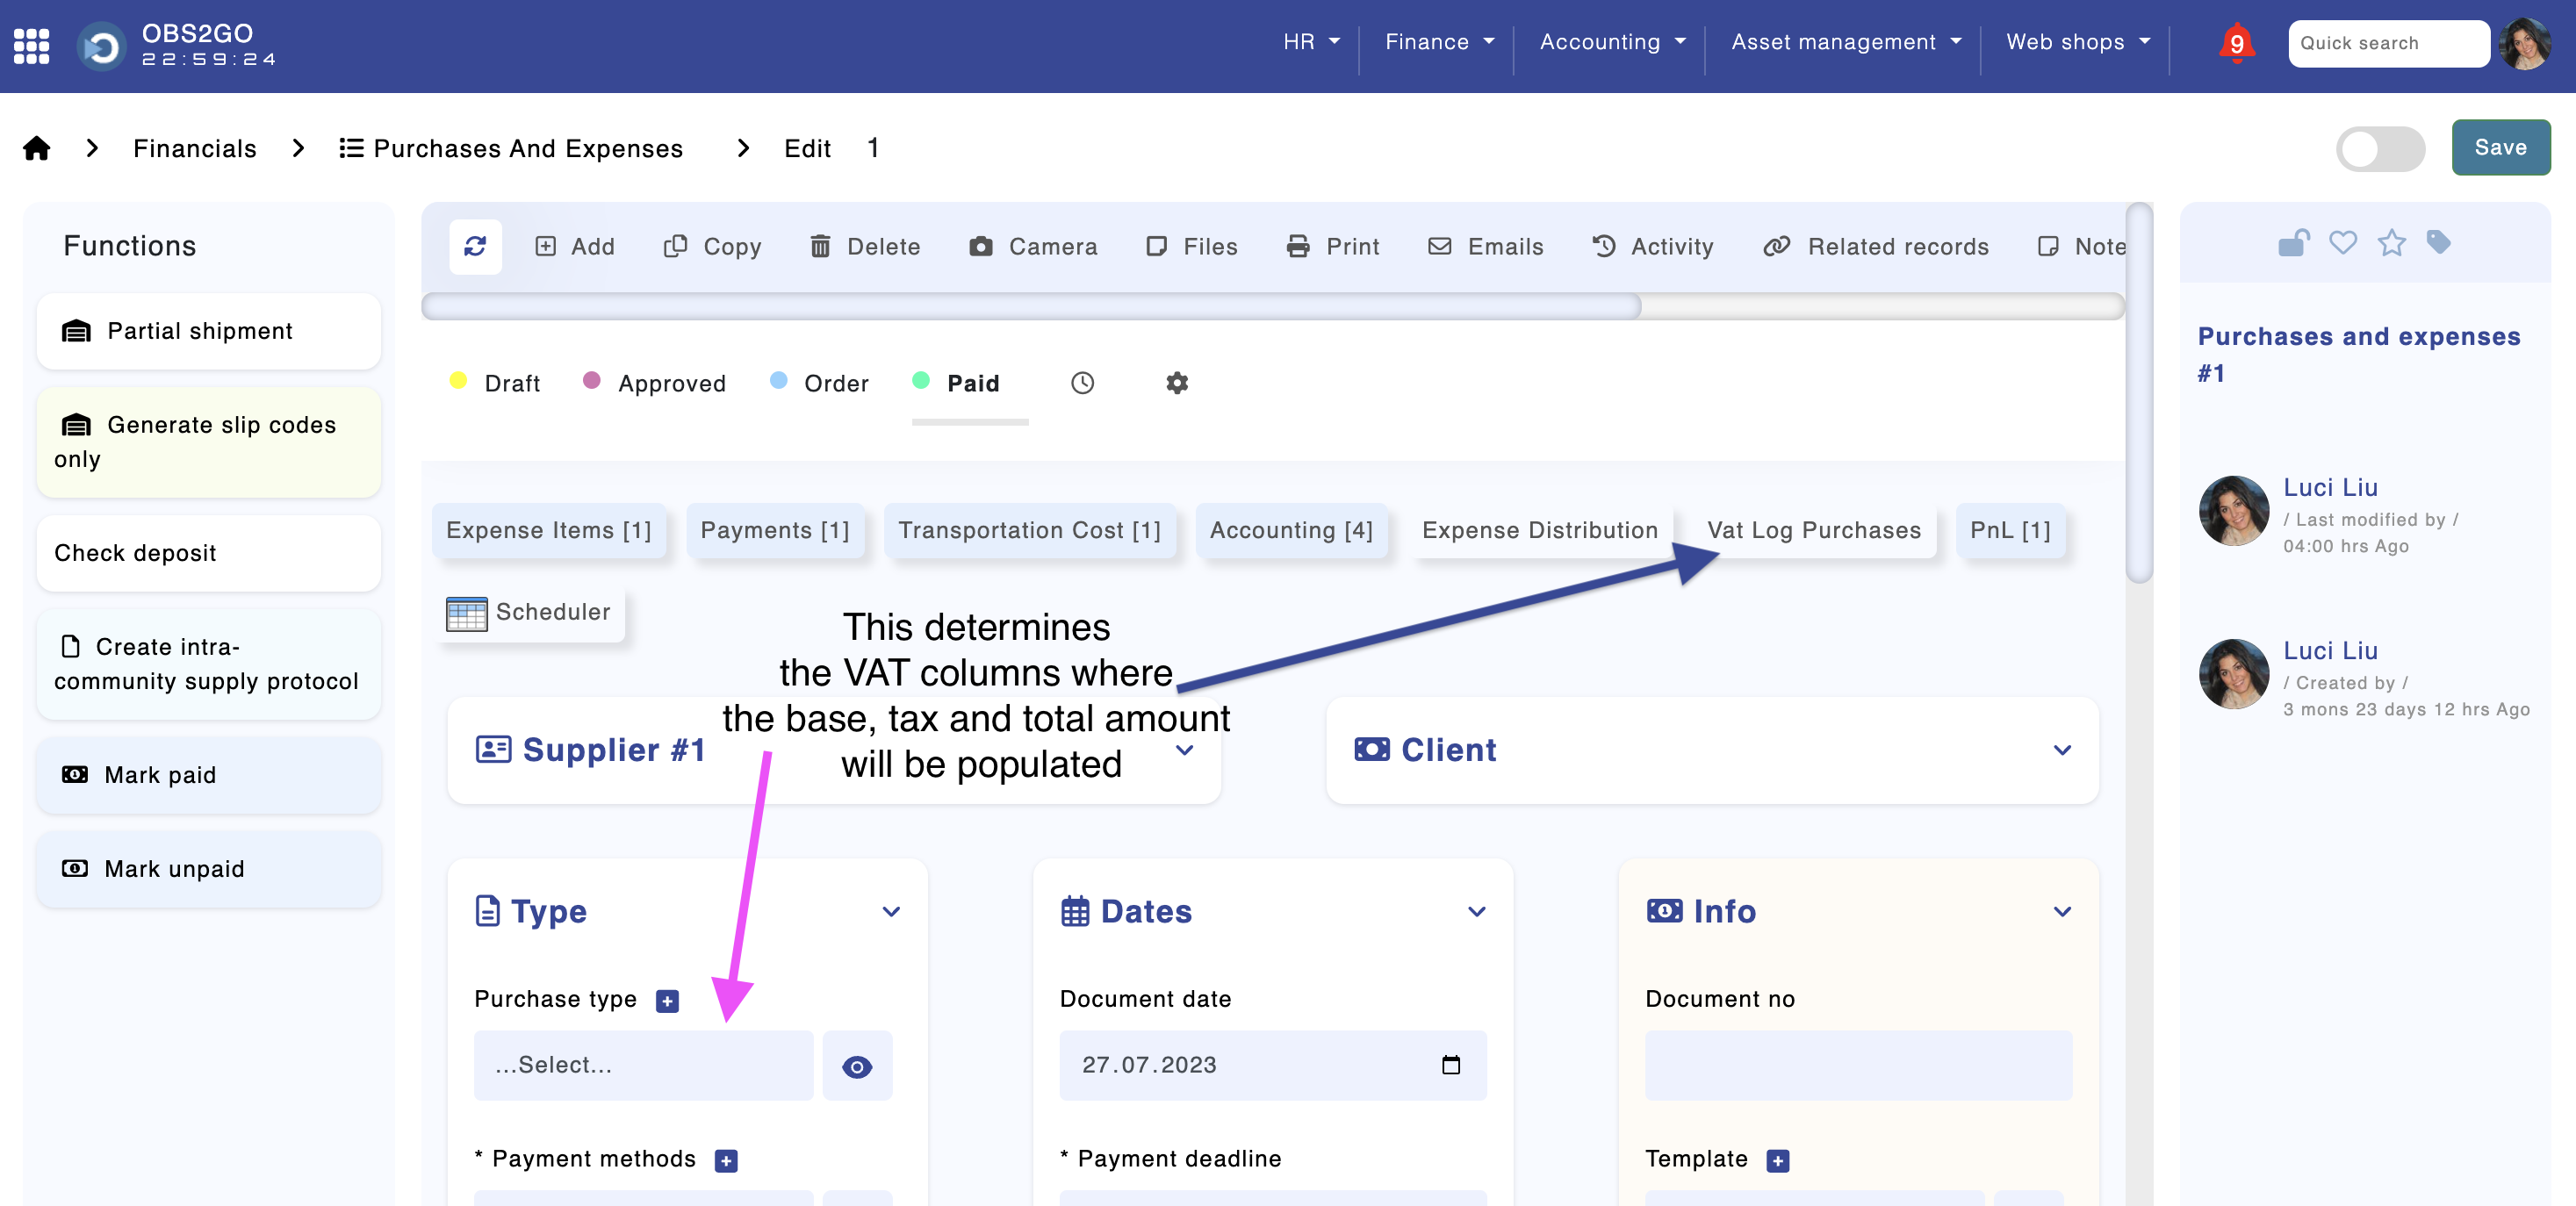
The system automatically generates VAT logs. The columns where the base, total, and VAT amounts are populated in the VAT log are determined by the selection made in the 'Purchase Delivery Type' drop-down menu. Please check each option from the dropdown menu for more information.

Module "Purchases and expenses" - Edit record
Posting
The system should be configured as described here: https://obs2go.com/en/guide/package/accounting/Configuration
Sections:
- Ledger accounts
- First date of accounting
- Accounting templates - expenses
Payments
- Full payment: Use the "Paid" button at the top of the purchase document to mark it as paid. If set up, the system will automatically generate postings for the entered payments. Alternatively, you can set up the system to process bank statements in MT940 format. This will automatically mark the purchase documents as paid and generate postings. Please see the "Bank statements" section for more information.
- Partial payment: Partial payments can be entered using the "Payments" button in the purchase document.
- Posting of payments: The posting is automatically created by marking the document as paid. The configuration is performed in the "Expense payments accounting" module.
Posting for exchange difference can be configured as well.

Camera uploads
Camera uploads are available in the OBS2GO mobile application for Android and iOS.
