Accounting
/Income
Income
Generating invoice, debit note, credit note or other document
Navigate to Finance > "Income" > "Create record" (Top-right corner). Fill in the form and click "Add". Add the invoice items in the submodule "Invoice items":
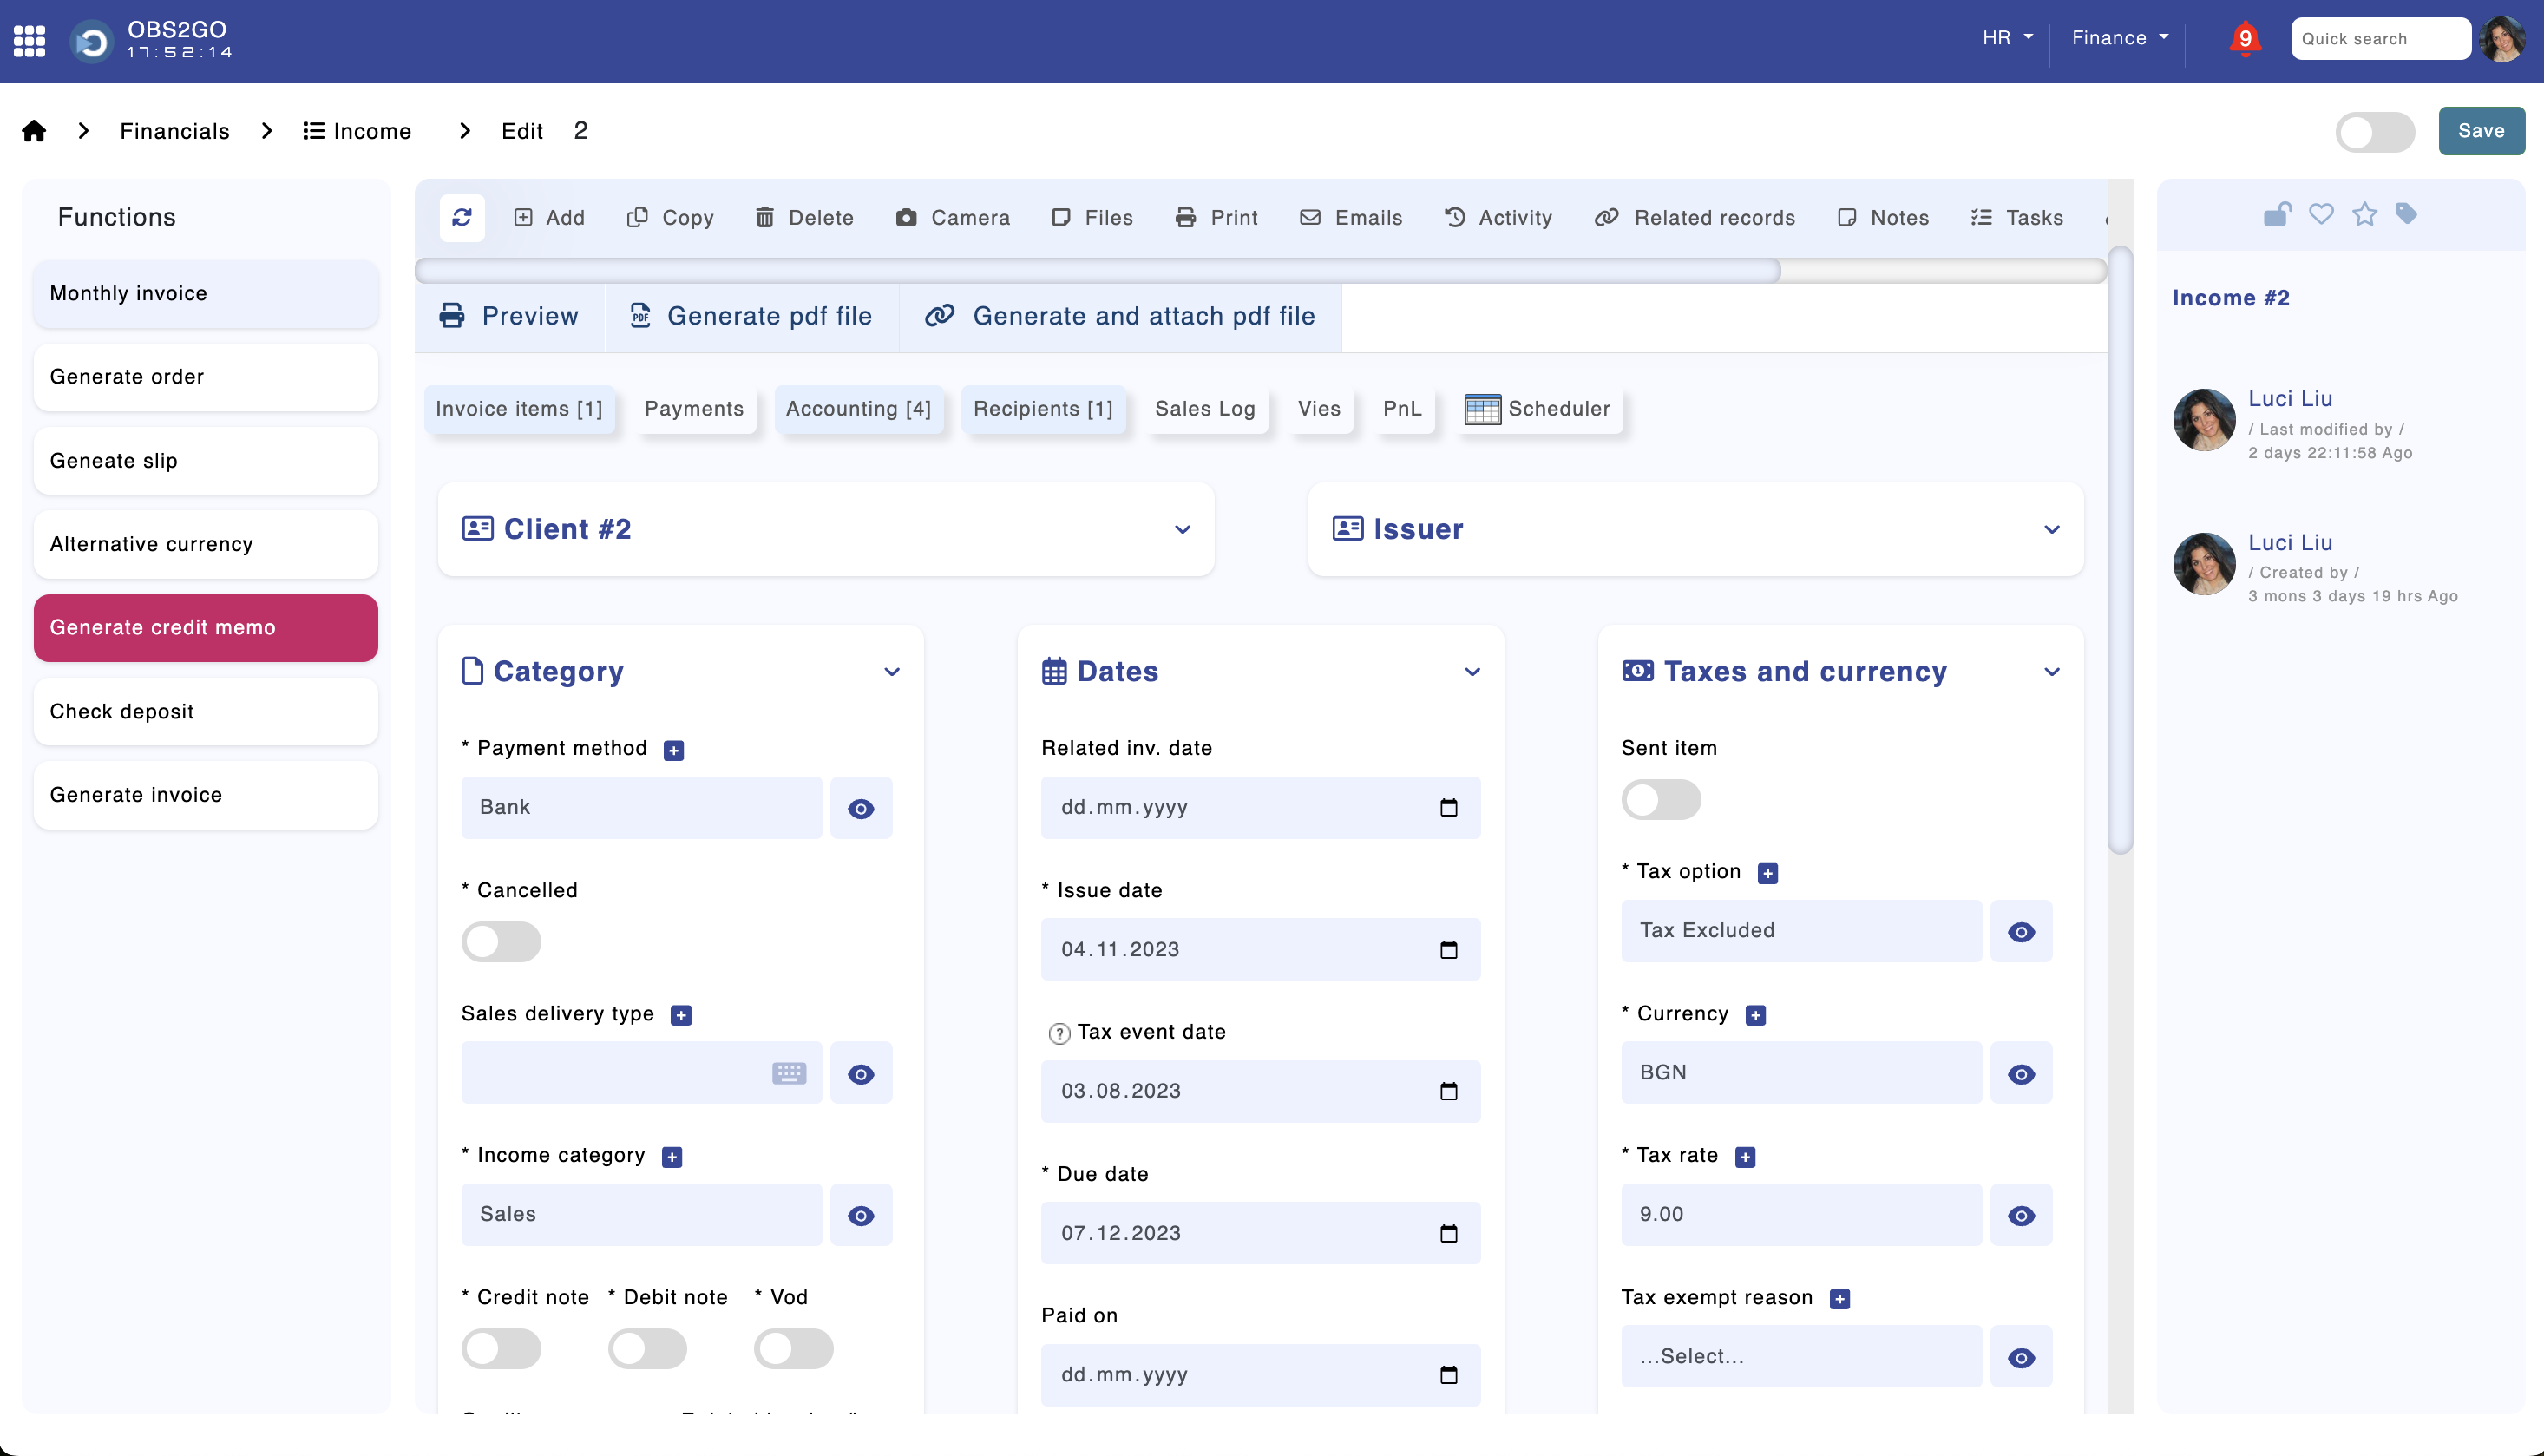
Module "Income" - Edit record
Invoice items:
The invoice items, i.e. products and services sold, can be added in the "Invoice items" module.
These two fields must be populated for the document to be posted:
- Profit center - The profit centers are related to the ledger accounts. The related general ledger accounts must follow this code convention: CODE-PROFIT_CENTER-ANALYTICAL_LEVEL. Example:
- 703-02-100, where:
- 703 is the synthetic account code
- 02 is the profit center
- 100 is the analytical level
- Every profit center must have a code. Example:
- Services (Code 01)
- Product (Code 02)
- More information here: https://obs2go.com/en/guide/package/accounting/Configuration#Ledger%20accounts
- 703-02-100, where:
- Category - The item's income category. Every category can have a template for automatic accounting.
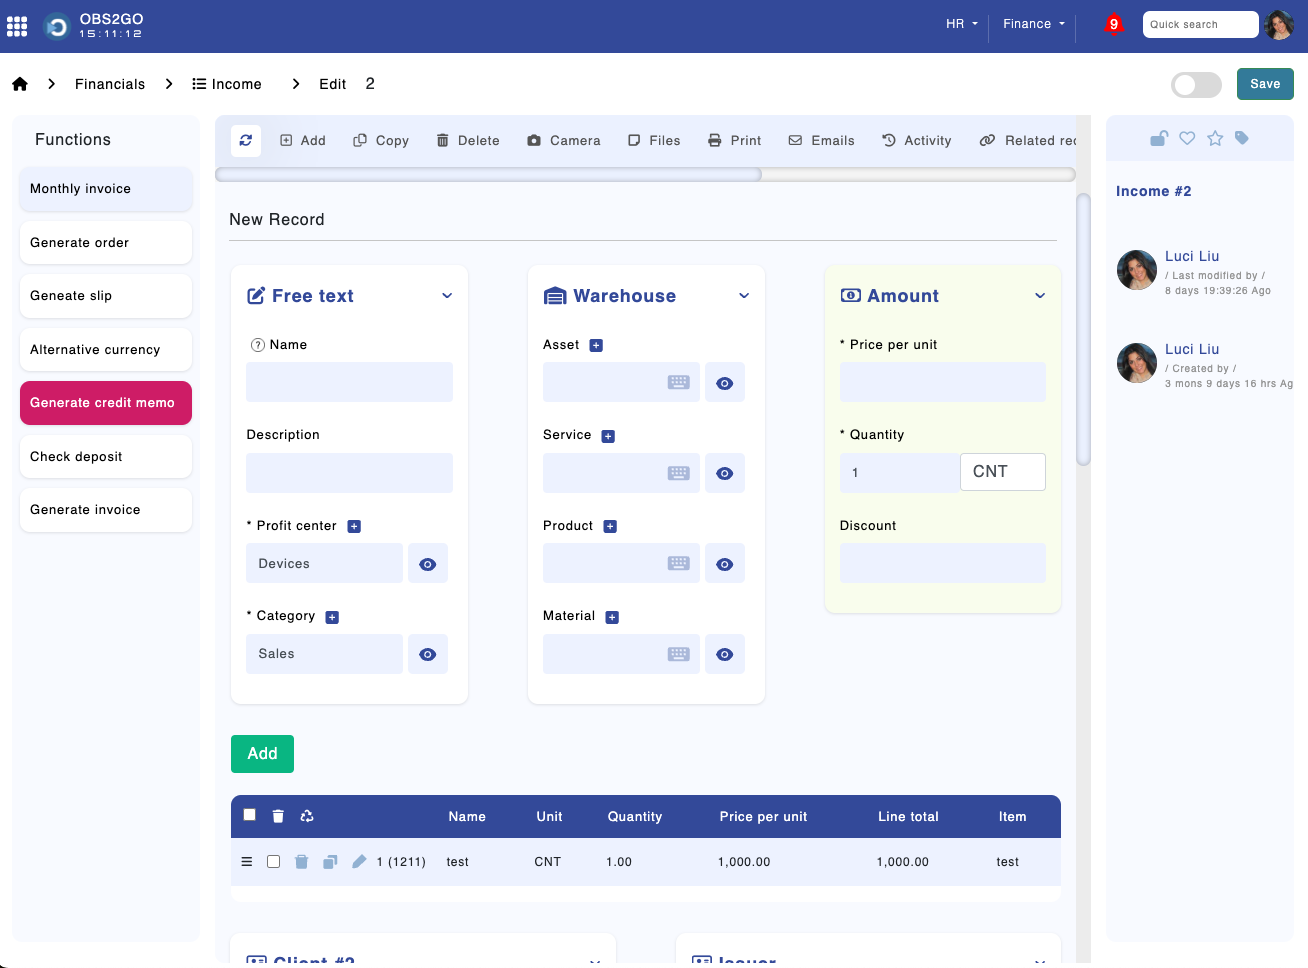
Module "Invoices" -> "Edit invoice"
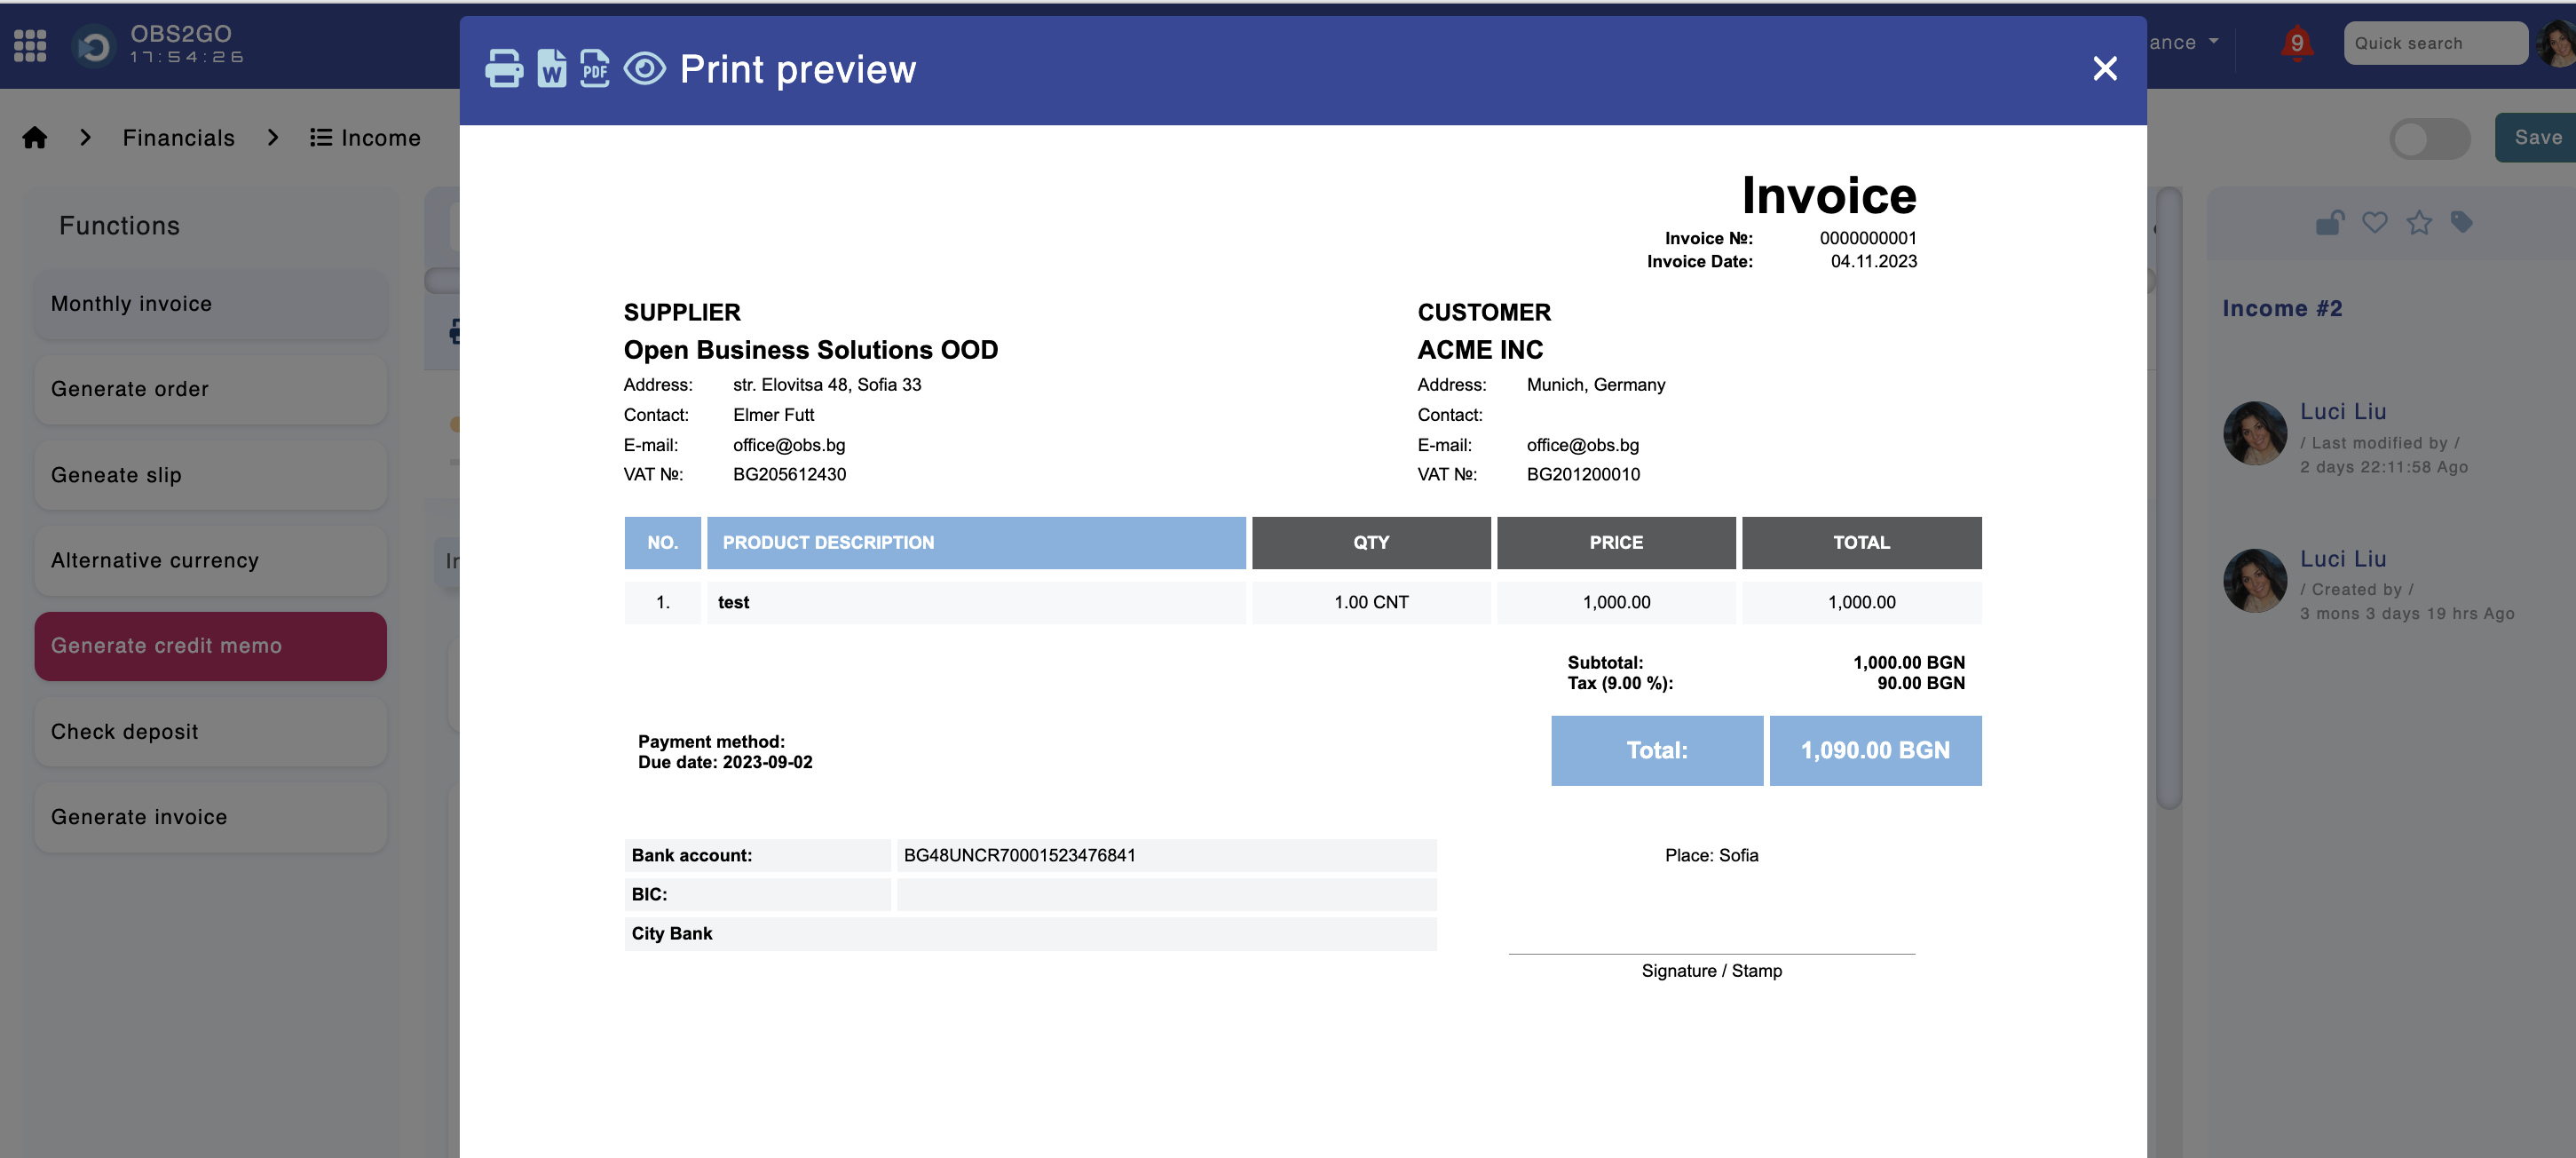
Module "Income" - Print Preview
The invoice print template resides in the "Templates" module. Click "Filter" and search for module "Invoices".
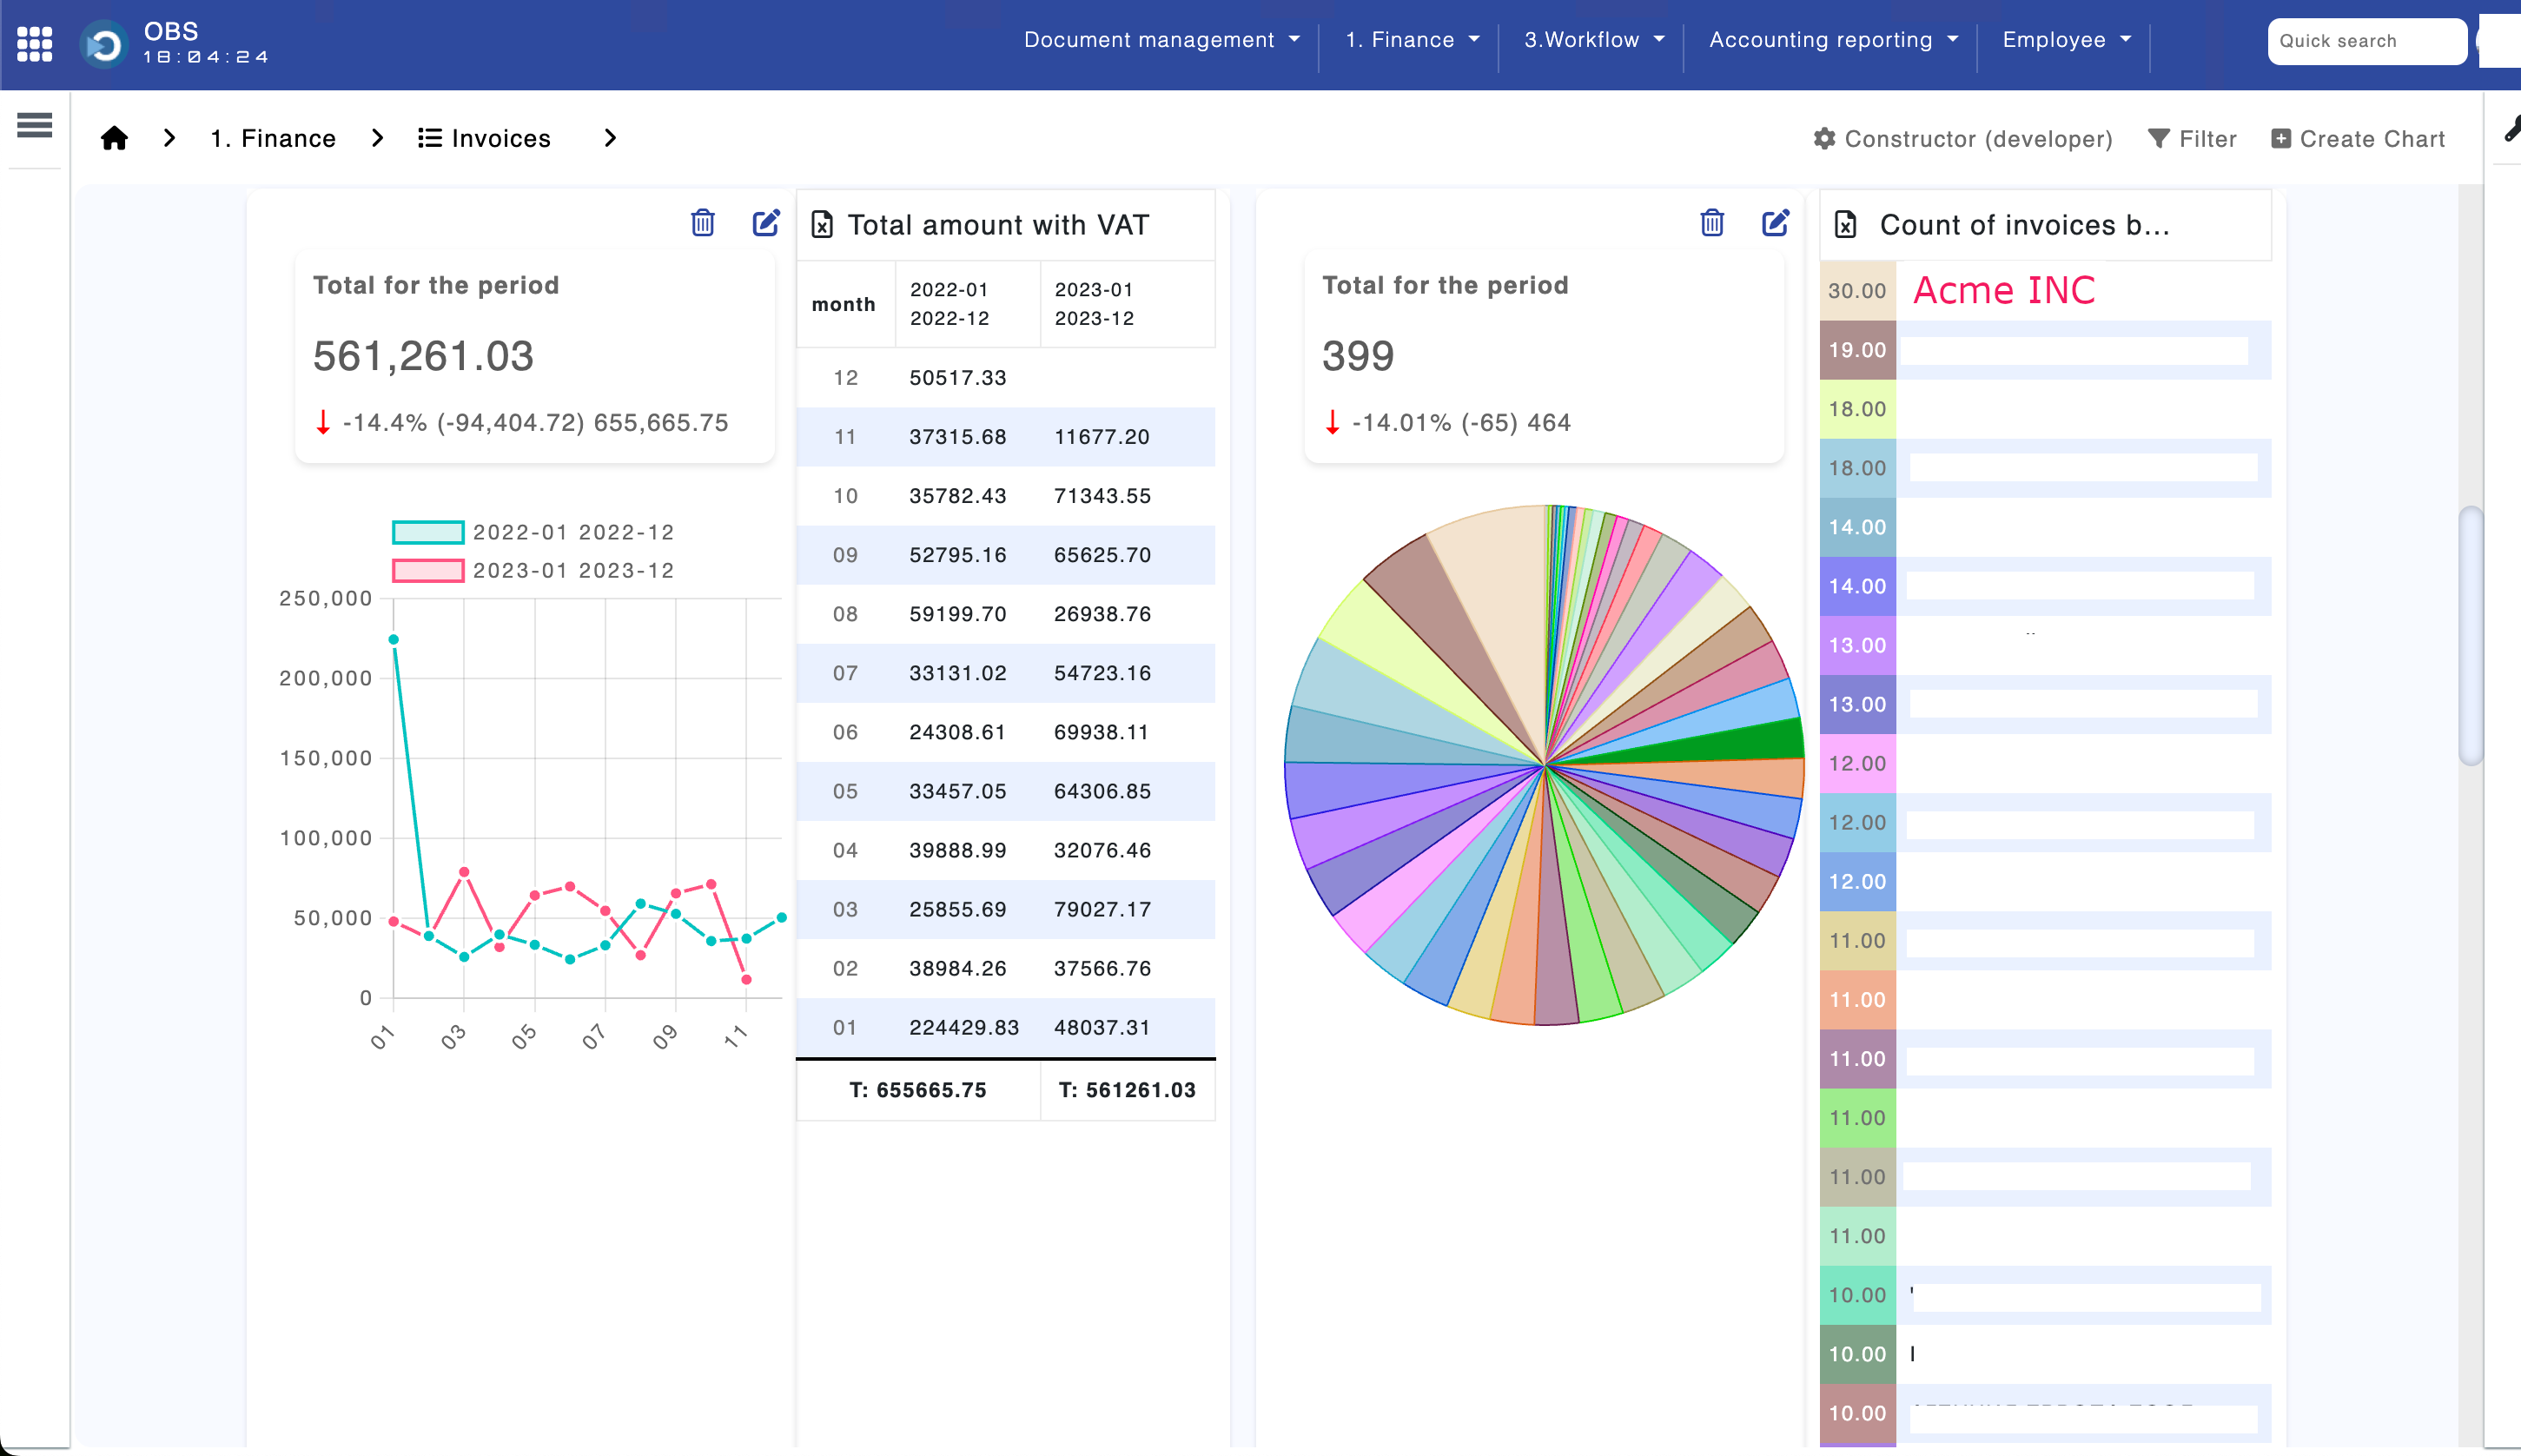
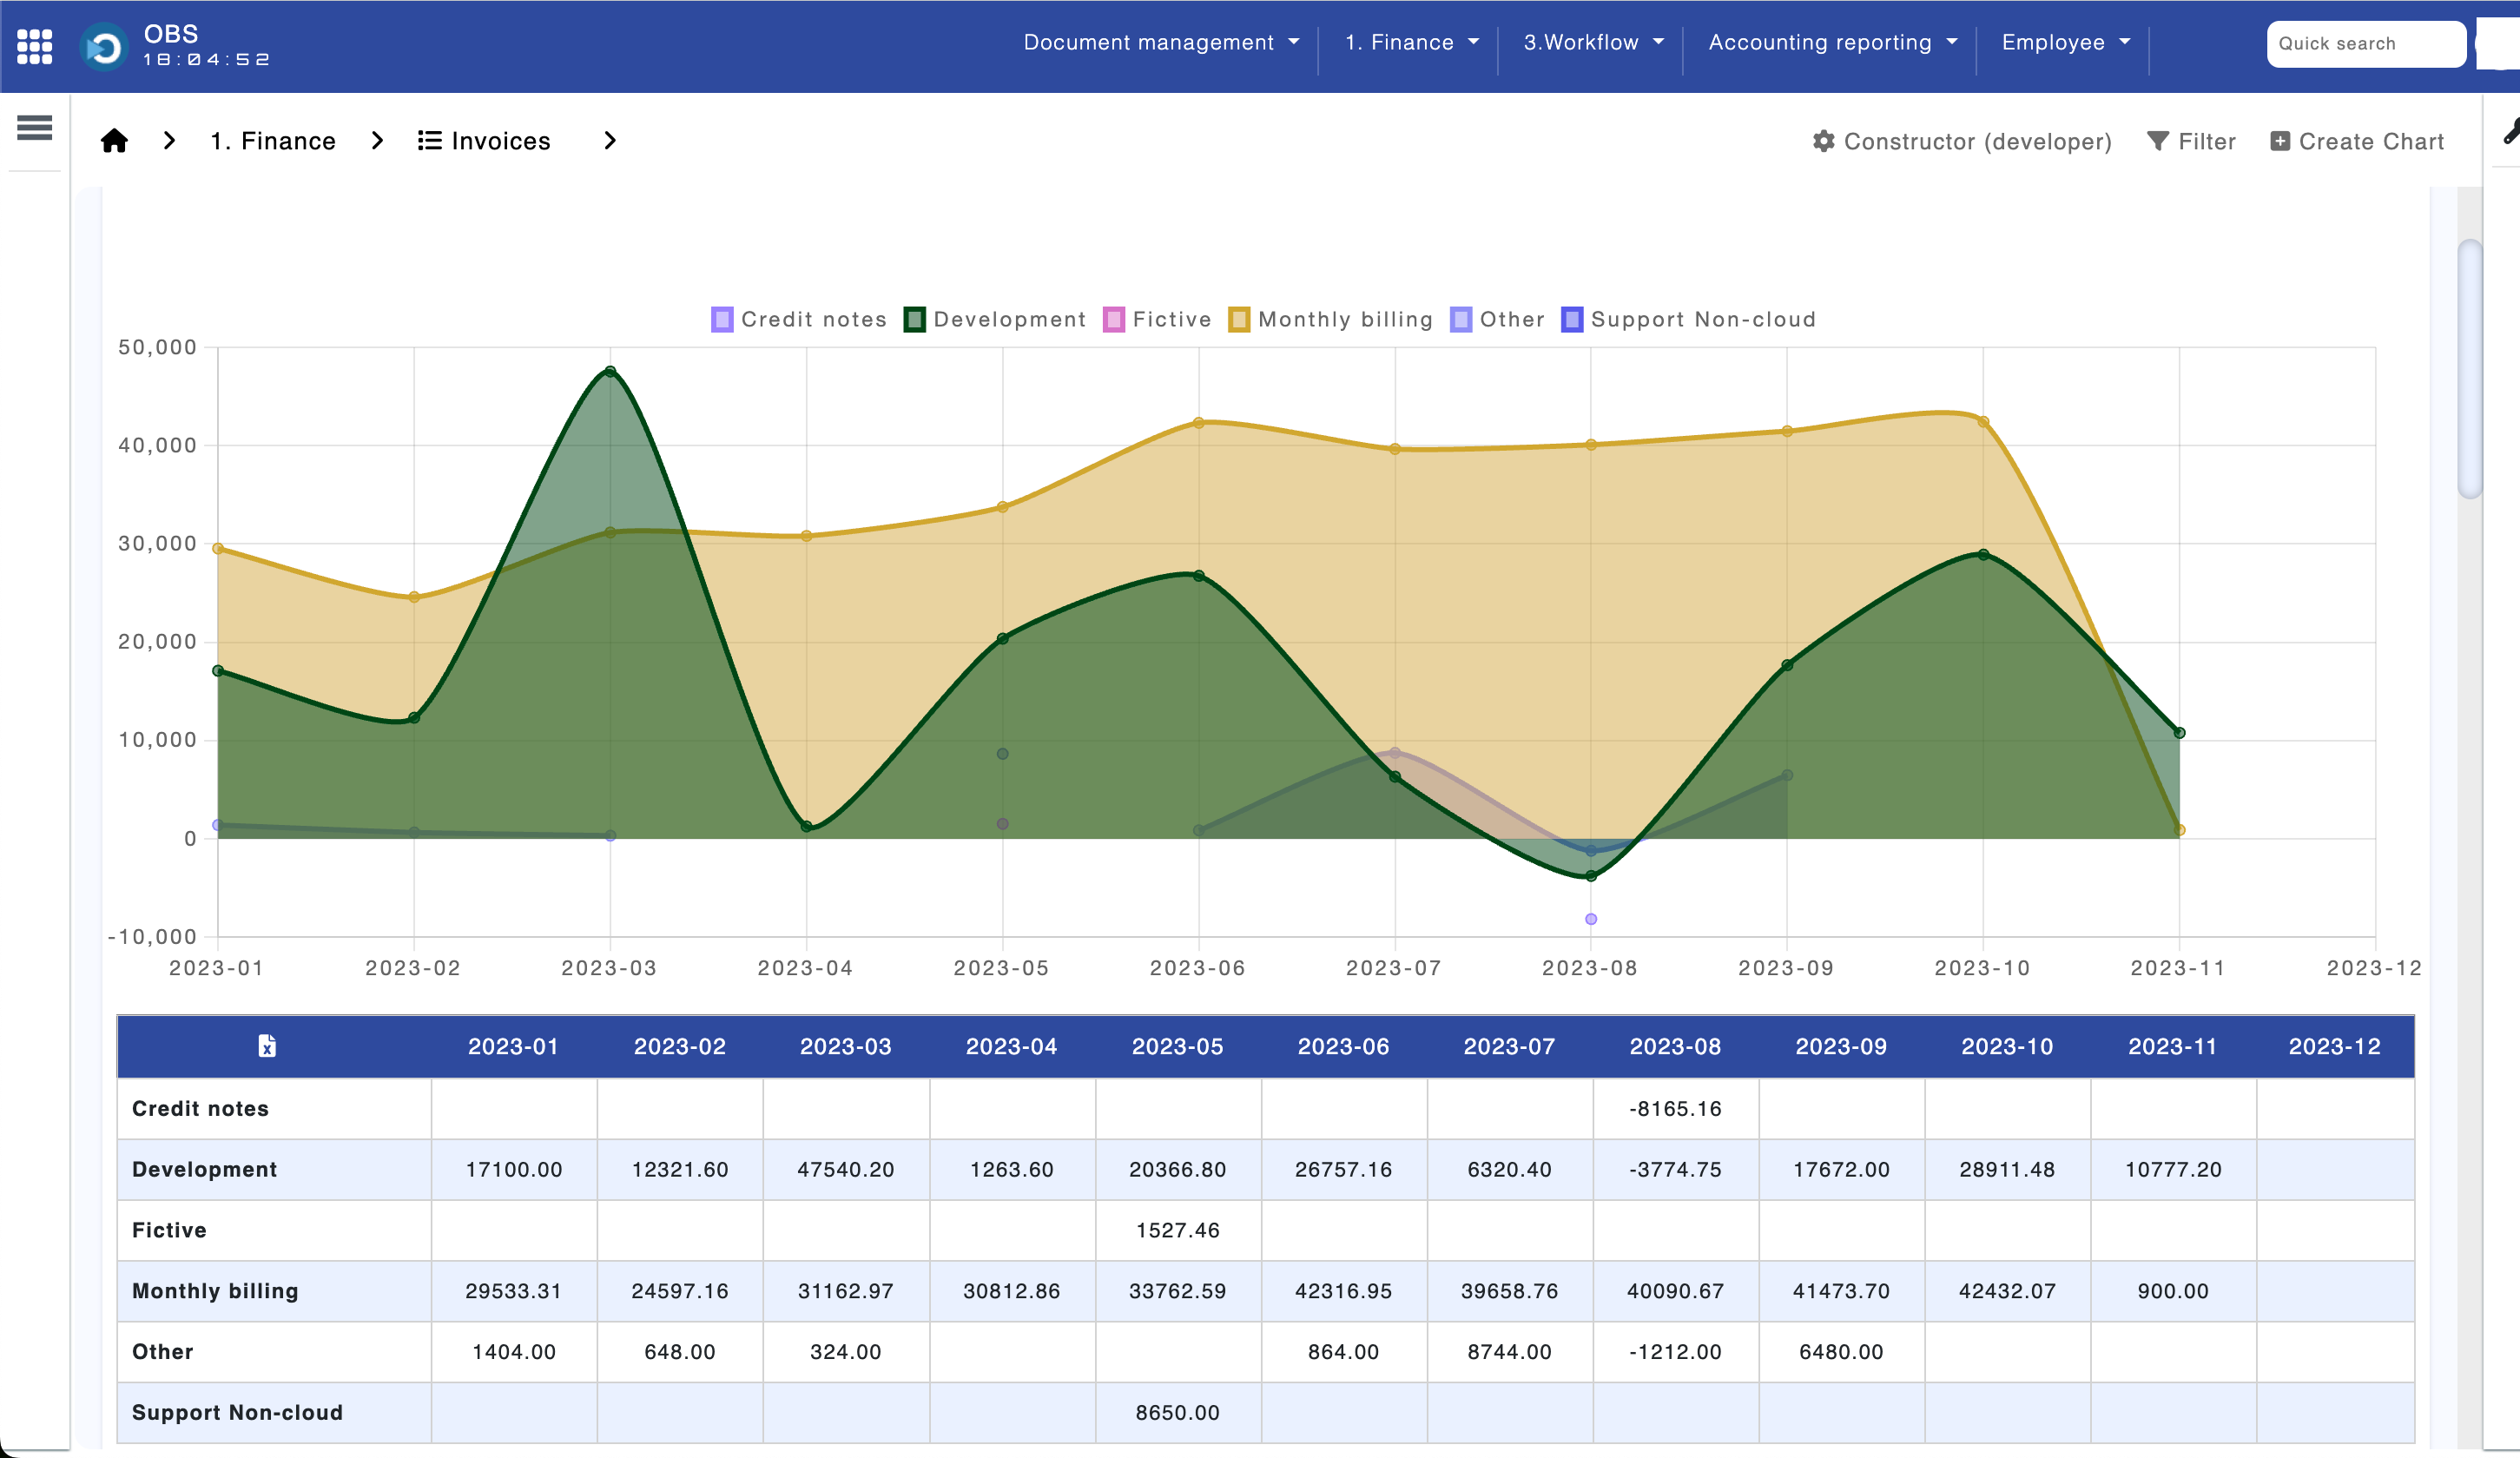
Module "Income" -> "Dashboard"
Custom charts can be configured. Open the "Invoices" module, click the right vertical bar, and select "Dashboard" > "Create chart".
Setting-up process
The following process is configured by default in the "Income" module:
- Draft: The document is in preparation and has yet to be posted or sent to the client.
- Posted: The document is automatically posted. The posting accounts depend on the selected profit center and category in the invoice items.
- Sent by Email: The document is sent to the client by email. You can configure an email account and send the document through the software.
- Paid: The document is marked as paid.

Custom processes can be configured by using the "Gear" button shown in the figure above.
Functions
The following functionalities are available:
- Consolidated Invoice from Orders: This button opens a popup window that allows selecting a time period. The system will check all orders for the selected period and add the ordered items to the invoice, facilitating efficient invoice generation.
- Generate Invoice: This button allows for converting a document from pro forma to invoice. It displays a popup window for selecting an invoice sequence. Invoice sequences are configured in the "Our Companies" module.
- Generate Credit Note: This button generates a credit note, creating a new document based on an existing invoice.
- Generate Slip: This function generates a warehouse slip for the products and materials selected in the document.
- Check Deposit: This feature returns information on the client's deposits.
- Print the document
Filtering invoices
The system has a powerful filter that allows filtering the data in the module based on different parameters.
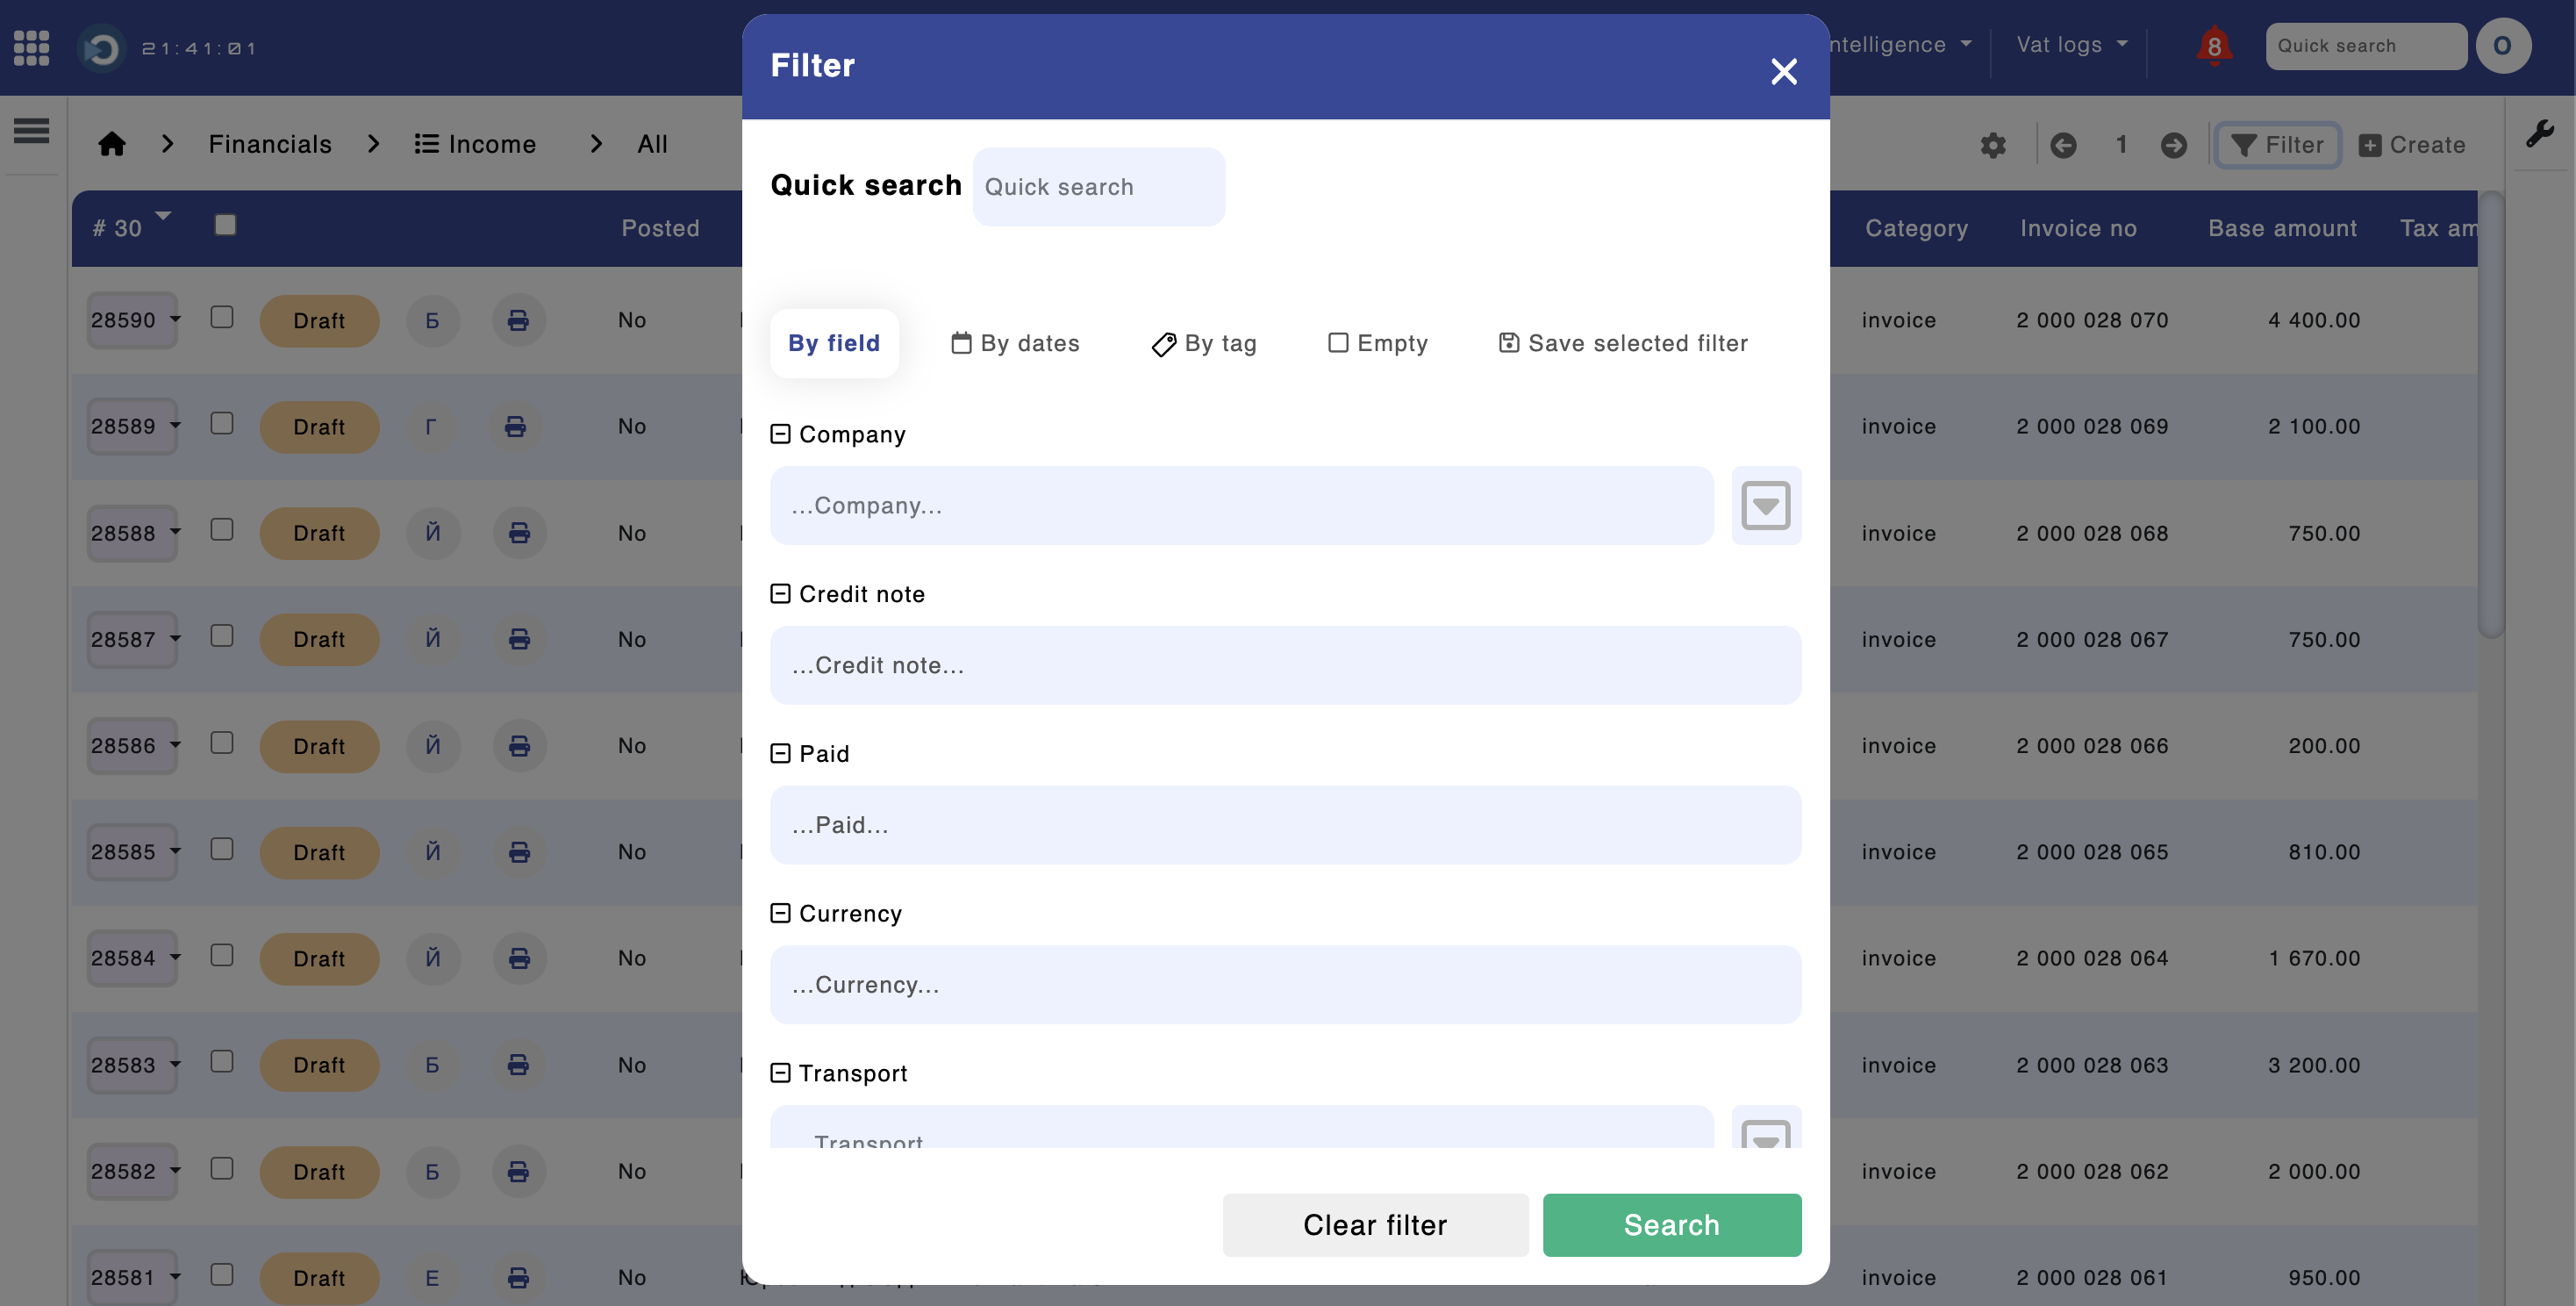
Module "Income" - "Data listing"
VAT
This section is applicable only for companies operating in the European Union. Please skip it if your company is registered outside of the EU.
The system automatically generates VAT logs. The columns where the base, total, and VAT amounts are populated in the VAT log are determined by the selection made in the 'Sales Delivery Type' drop-down menu. Please check each option from the dropdown menu for more information.
Posting
The posting of income documents is described here: https://obs2go.com/en/guide/package/accounting/Configuration
Sections:
- Ledger accounts
- First date of accounting & Invoice sequences
- Accounting templates - income
Payments
- Full payment: Use the "Paid" button at the top of the income document to mark it as paid. If set up, the system will automatically generate postings for the entered payments. Alternatively, you can set up the system to process bank statements in MT940 format. This will automatically mark income documents as paid and generate postings. Please see the "Bank statements" section for more information.
- Partial payment: Partial payments can be entered using the "Payments" button in the income document.
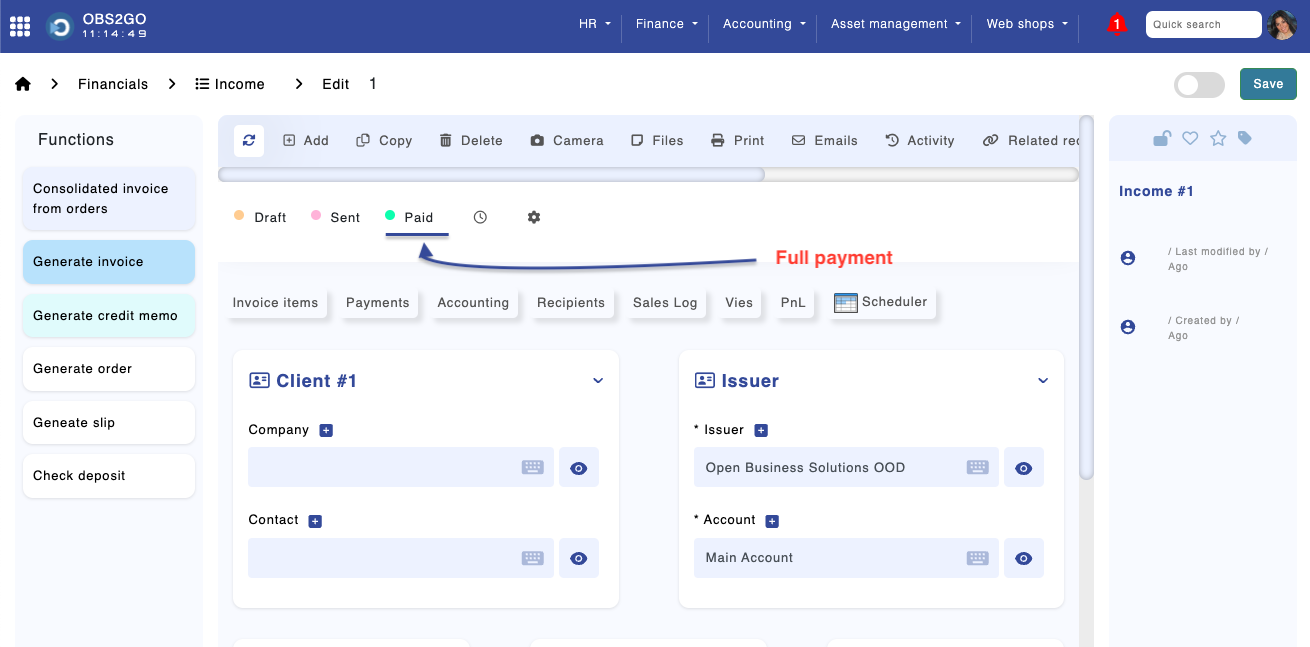
Module "Income" -> Edit document
- Posting of payments: The configuration for posting payments is done in the "Income Payments Accounting" module.
Accounting templates - income
The templates for automatic accounting allow you to automatically post documents based on a selected profit center and income category.
